ondesk · nails
✦ CHECK YOUR SIZE ✦
Before diving into your imaginative world at your fingertips
How to measure the nails width
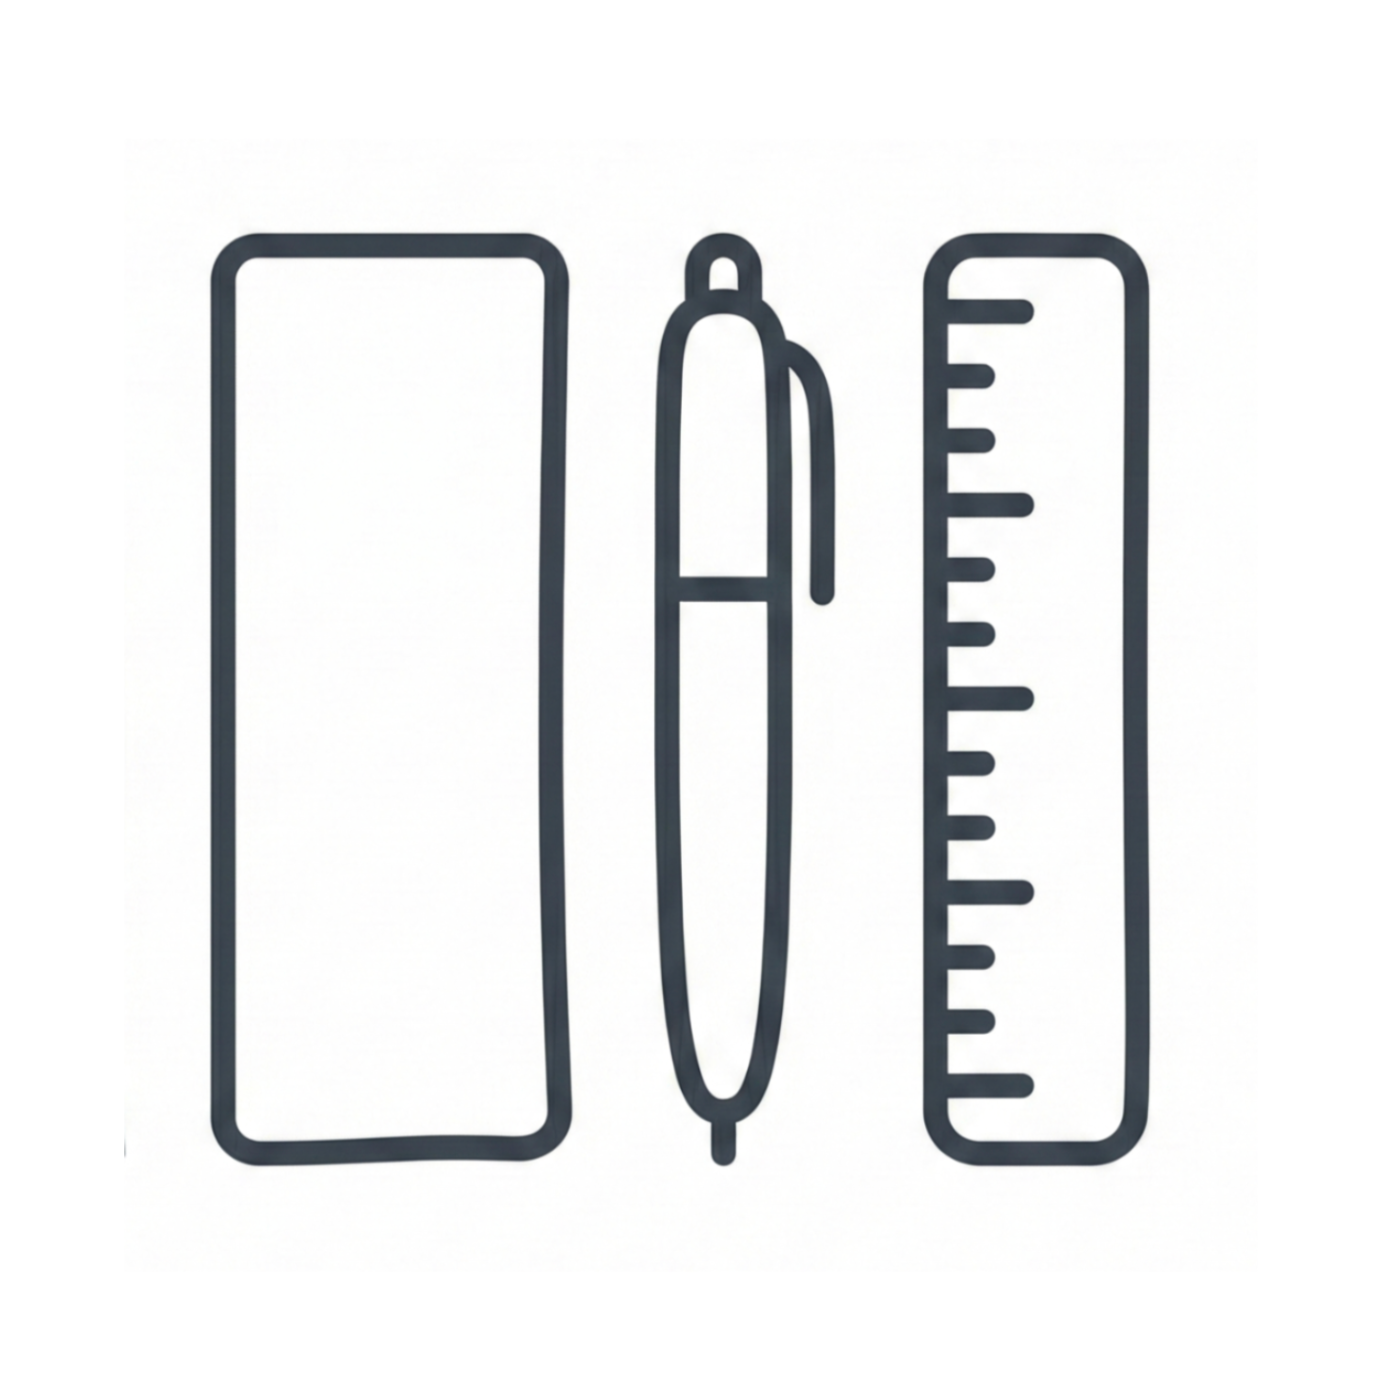
①
Round up a little strip of paper (or tape), a pen, and a ruler. That’s your sizing toolkit!

②
Wrap the paper snugly across the widest part of your naked nail. Make sure it follows the natural curve—no gaps!
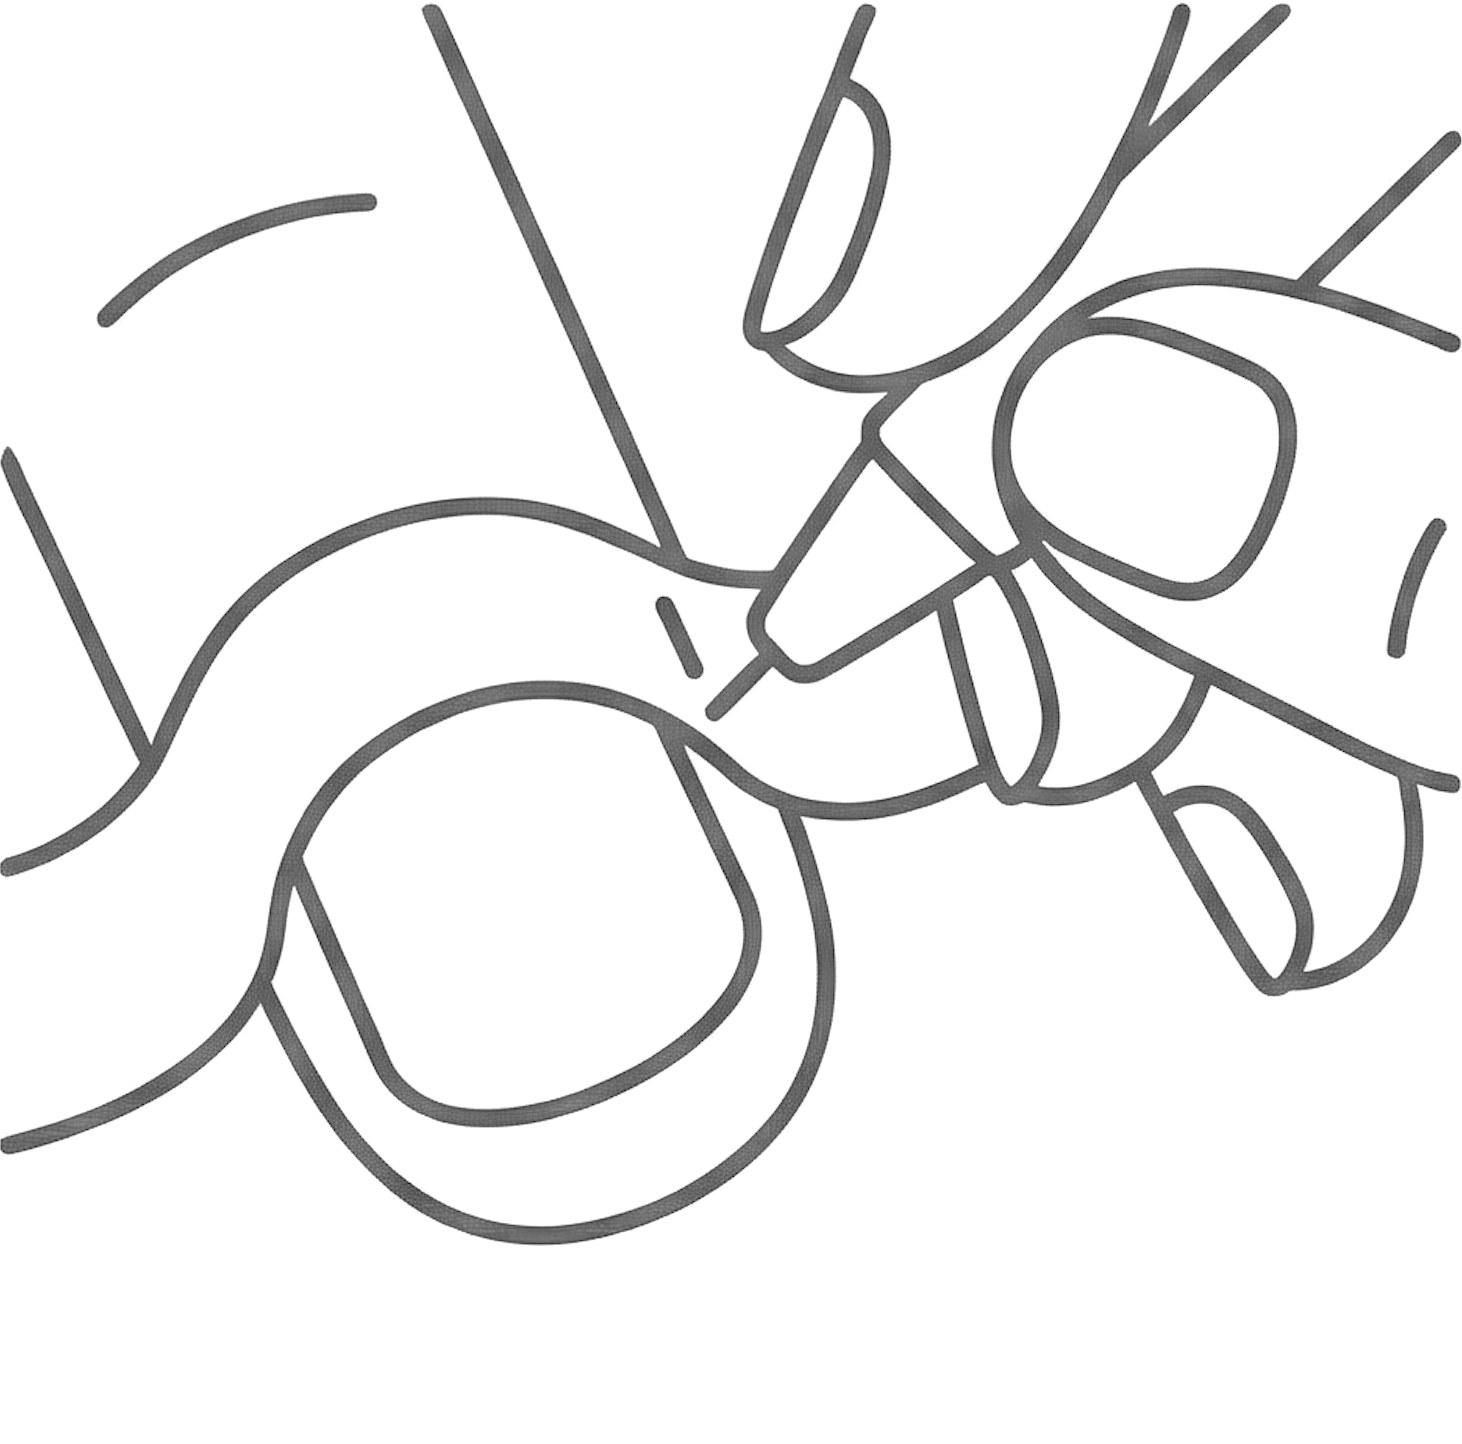
③
Use pen to draw precise little lines on the paper right where it meets the sides of your nail bed.
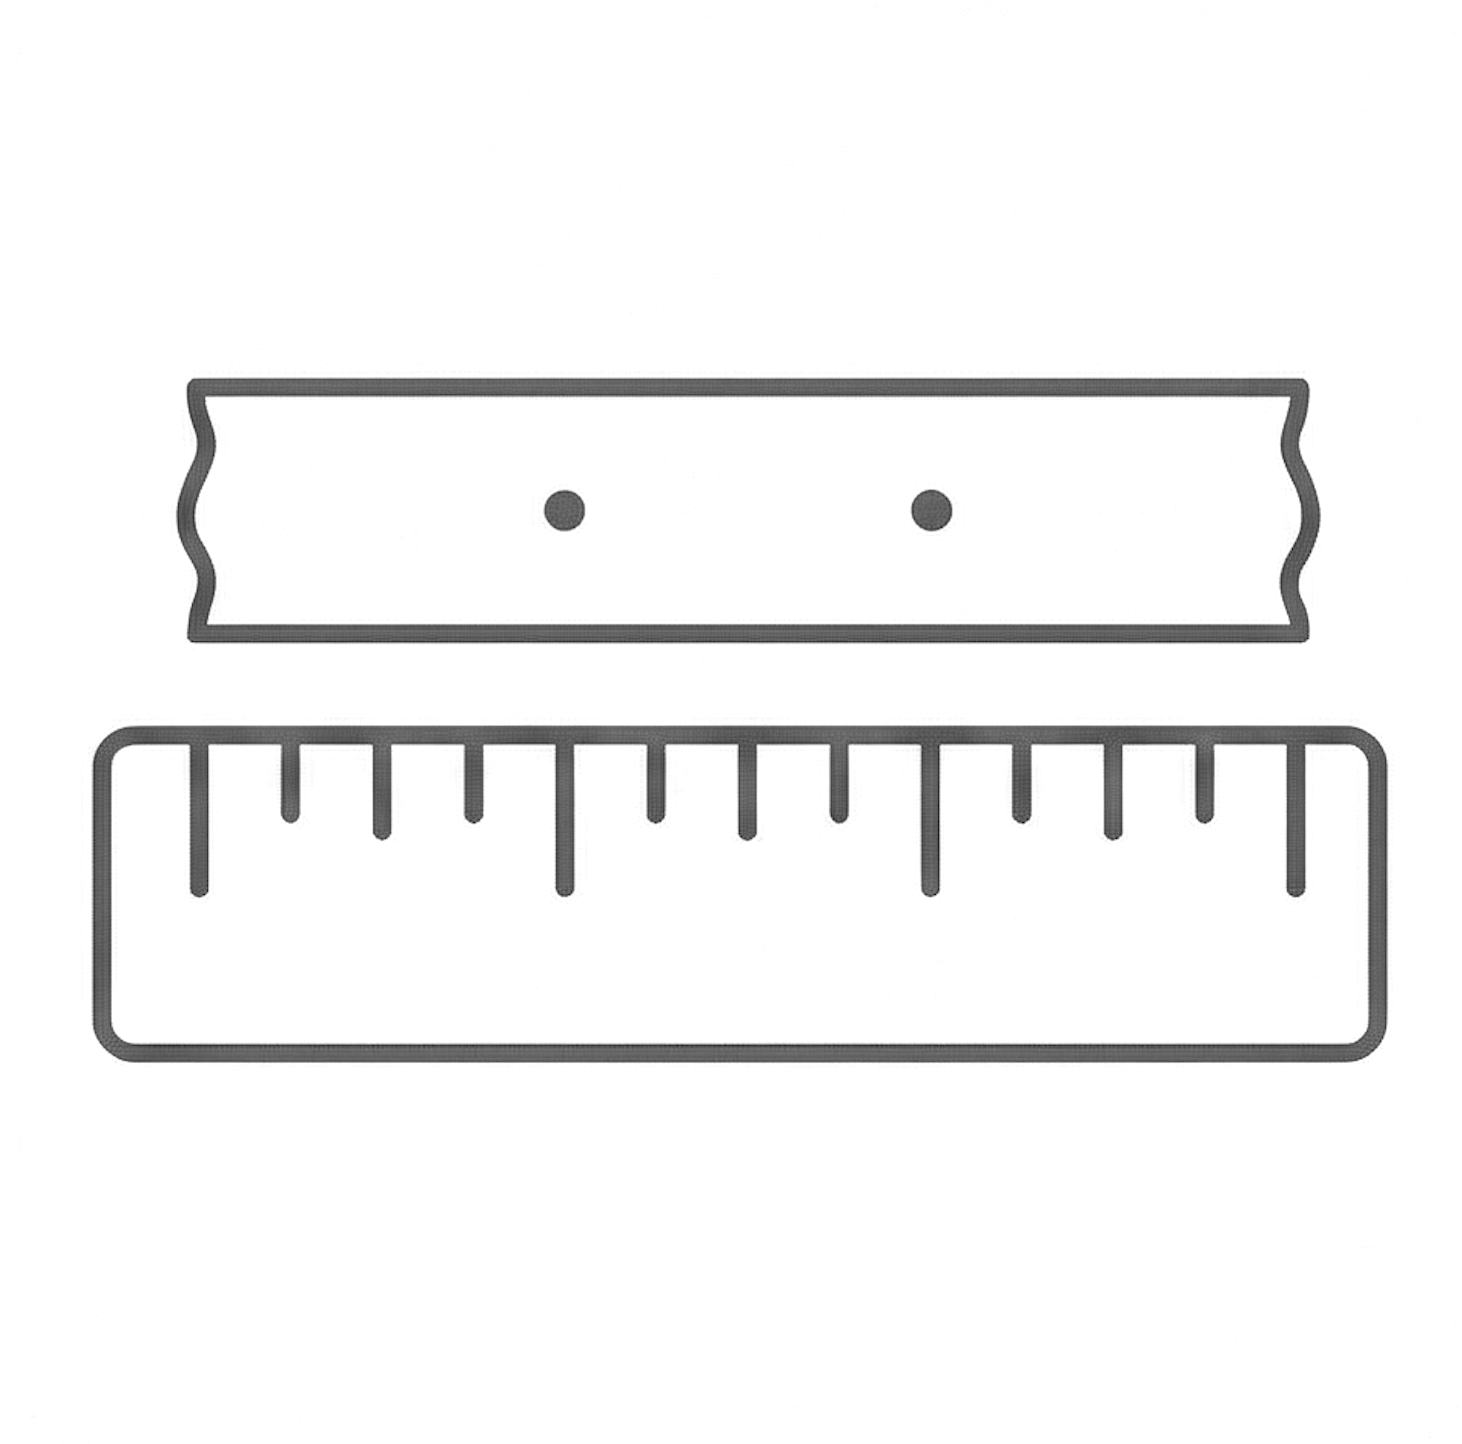
④
Lay the paper strip flat and measure the distance between those marks in millimetres. Voilà! That’s your magic number.
Now just pick-up your size
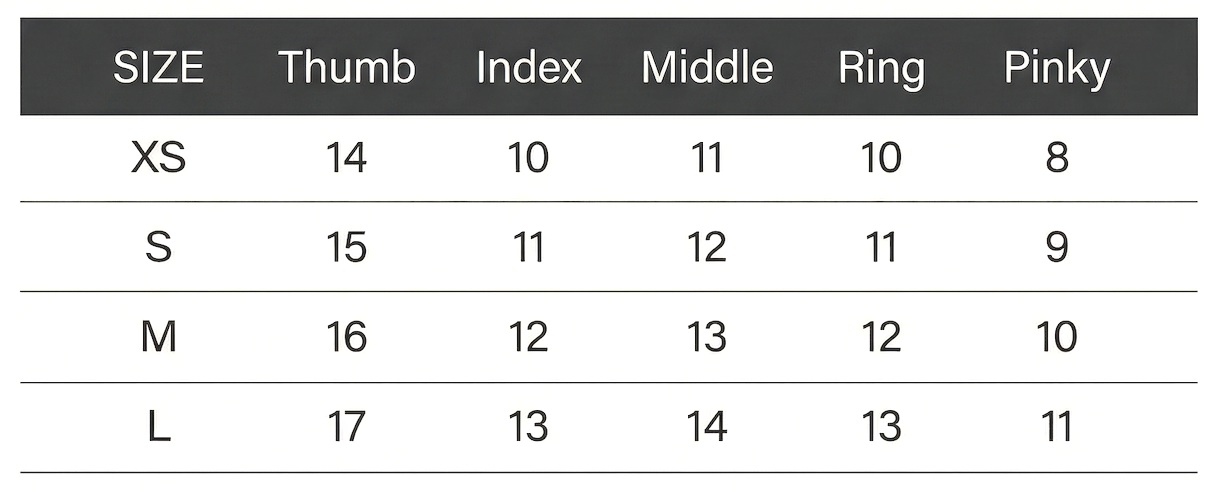
Memorise this mantra, babe: “When in doubt, SIZE UP!"
✦ The Golden Rule ✦
✦ Caught in the middle? If your measurement lands strictly between two numbers (for example, you measure 11.5mm), always level up to the bigger size (12mm).
✦ Why? Because you can easily file down a slightly larger nail to get that perfect custom fit (you're basically your own nail tech!). But squeezing into a size that's too small? Ouch! That’s uncomfortable, and they are more likely to pop off.
✦ Majority Rules! What if 4 of your fingers fit perfectly into a “Size S", but one finger is just a tiny bit smaller? Don't stress! Stick with the Size S. It's always safer to accommodate the majority of your fingers.